Welcome to the July {ditto} DIY challenge!
Once a month ten very different bloggers are hosting this challenge to recreate in our own homes a project or design element inspired by a haute couture design. The idea is to inspire everyone to incorporate fine design elements into your own home in a way that fits your own style. (For more details on what {ditto}DIY is all about, check out my intro post!)
The ten hosting bloggers include:
Darlene @ Fieldstone Hill Design
Ruth @ Living Well Spending Less
Cindy @ Skip to My Lou
Jen @ Balancing Beauty & Bedlam
Edie @ Life in Grace
Rachel @ Surviving the Stores
Karin @ Trophy Mom Diaries
Lauren @ I am THAT Lady
Kelly @ View Along The Way
Melissa @ The Inspired Room
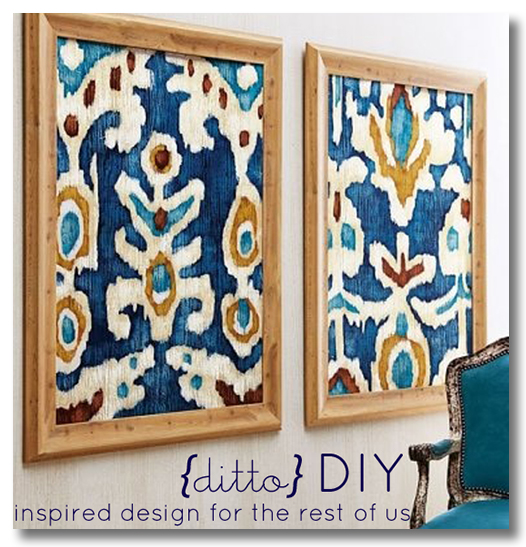
This month’s theme is Framed Fabric, and this was our inspiration photograph:
{A framed pair of Ikat fabric art. Image via Neiman Marcus.}
The {ditto} DIY Challenge:
Frame some Fabric! Any fabric, any way….then use it in a lovely display.
Here is my Framed Fabric {ditto}DIY project:
Did you guys see the part that said a FRAMED fabric display? Yeah, um, I did too. As you can tell from the image below…
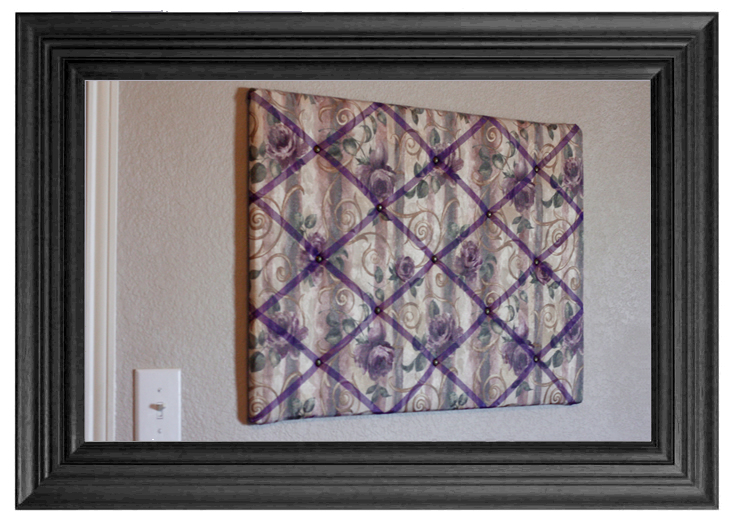
As you can see, I followed the directions exactly. Framed fabric wall art.
{sigh}
So I’m reminded of my preschool report card where I got a “S” (satisfactory) for everything except “listens to and follows directions.”
I scanned over read the exact same instructions that every one else did for this project, and somehow completely missed the part about it needing to be FRAMED.
But I guess I do have a fairly good excuse. WE SOLD BOTH OF OUR HOUSES IN JUNE!! We had a rental property that has been a huge financial drain on us for the past couple of years that closed last Friday, and we are currently under contract for our house here in Dallas! The plan right now is to move down to the Houston area sometime late July or early August so I have been packing up things, trying to figure out which items we want to take with us while we are between houses, and doing it all with a 2 year old attached to my leg pretty much constantly (thankfully he still takes a nice nap in the afternoon).
Needless to say, my brain hasn’t quite been functioning on all cylinders and I completely missed that this project was supposed to be framed.
But you could frame this project so that should at least count for something, right?
These photo/memo boards are so easy to make and are a perfect addition to almost any room.
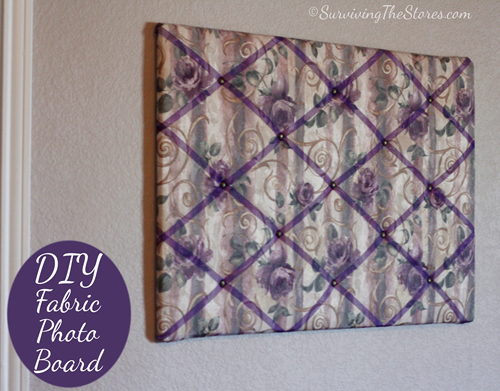
What you need:
3/4 yard of fabric
1 thin piece of 20″ x 30″ foam board (I just got mine at Walmart)
1/4 inch plywood cut to 20″ by 30″
Thin piece of quilt batting (it’s not absolutely necessary to have this, but I think the boards look much better when the batting is there)
A roll of 1/2 inch thick ribbon (I like using sheer)
Pretty tacks (found at any craft store)
Hammer
Staple gun
Hot Glue
2 very small screws
Piece of very thin metal wire
How to make it:
Lay the foam board on top of the wooden board.
Cut your batting to 20″ x 30″ and lay that on top of the foam board.
Stretch your fabric around the wood board/foam board/batting combo and flip the whole thing over so that the fabric is on the ground (or the table if you’re not working on the floor).
Fold over one side to see how much you need to cut off the edge. I would leave at least a 2 inch overlay on the back just to make sure it’s enough. Do that with all 4 sides.
Staple a few places of fabric down (I like securing the middle of each side) just so that the fabric won’t move around while you put on the ribbon.
Leave the board face down and slide one strand of ribbon diagonally across the middle of the board (so that it would show on the front side). Be sure to leave enough room on the ends of the ribbon to fold them over and staple them to the back of the board, and then staple the ribbon ends along with the fabric underneath to those two diagonal corners.
Do the same thing with the other diagonal.
Add more ribbons 6 2/3 inches apart on the narrow sides and 10 inches apart on the longer sides.
Use your staple gun to staple any loose fabric to the wood on the back of the board. You can fold over the edge of the fabric to make it look a little nicer.
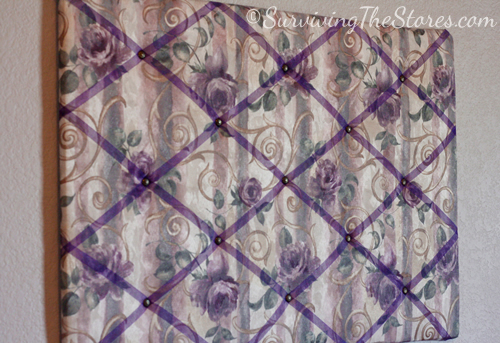
Turn the board with the fabric side facing up and secure each place where the ribbons meet with one of the decorative tacks (you will need to use a hammer).
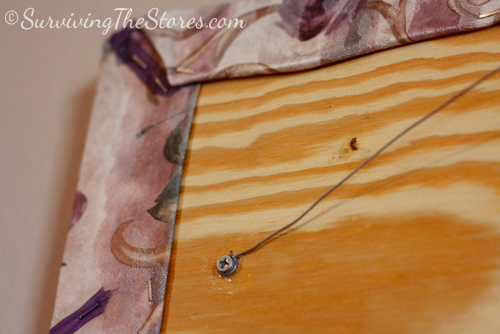
Turn the board back over and place the two small screws on the sides of the board. I go down 5 inches from the top and 3 inches from each side. Leave enough space to wrap the wire a few times around between the screw head and the wood board.
Wrap your wire around one of the screws and bring it across the board to do the same thing with the other screw, just make sure that the wire doesn’t come above your photo board.
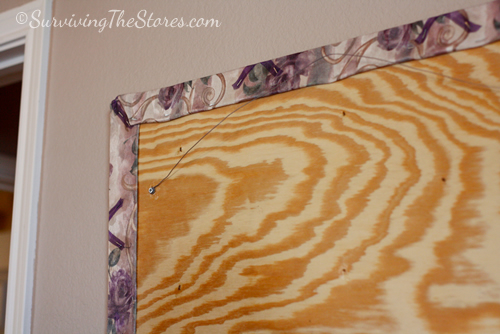
Secure the wire around the screws with hot glue if you want to.

Are you ready to see next month’s challenge? Here’s a hint:
This simple design DIY challenge from our designer will turn your trash into treasure. Design IS all about the details.
Want to see what we have up our sleeves for August’s linky party and {ditto} DIY challenge? Head on over to see what our interior designer is challenging us with next month. And while you are there, don’t forget to read Darlene Weir’s tips on incorporating July’s fabric art into our homes.


Congratulations on selling!! I think this totally fits with the challenge! 🙂 Great idea!
It looks framed to me 🙂 I won’t tell anyone! I love this idea! I need to make one for my kitchen, it just seems to grow piles of important papers.
Totally counts. And I’m not just saying that because my frame wasn’t framed either. 🙂 Great job Rachel! So pretty!
This is really pretty! I have made 3 of these for my daughter and 2 friends to use in their college dorm rooms. I used only the foam board (no plywood), glued the batting to the front side of the board, wrapped the fabric around and glued on the back side, spaced the ribbons equally on the front w/1-2 inch extensions for overlapping, pinned in place w/straight pins, glued ribbon extensions to back, secured ribbons by poking brads through all layers (had to poke a hole in the board first to prevent brads from bending), then glued pretty buttons on top of brads. For the hanger, I just glued some nylon chord on the back (one piece on each of 2 connecting sides so it could be hung either vertically or horizontally). I used hot glue for the chord and the buttons, but I just used Elmer’s or fabric/craft glue for everything else. (I don’t remember b/c it’s been several years since I made them). They have held up really well, and were very easy and inexpensive to make!
How did you attach the Bigger ribbon onto the back of the frame?