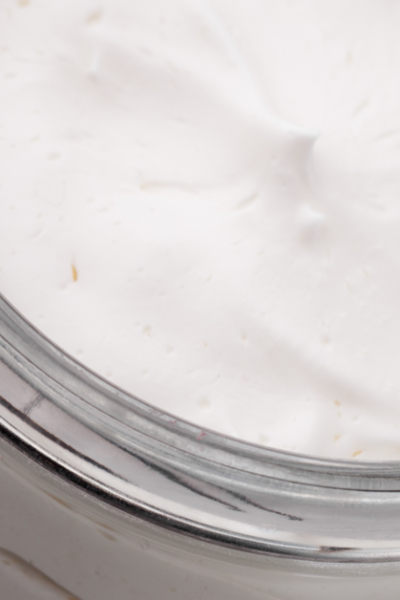
Homemade Coconut Oil Body Butter Recipe!
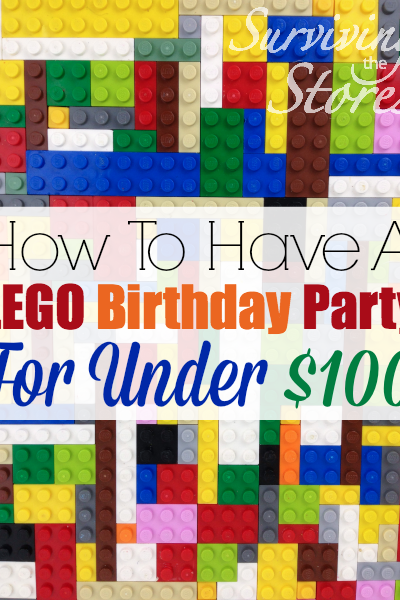
How To Have A LEGO Birthday Party For Under $100!

Getting The Best Hotel Room Deals With Priceline!
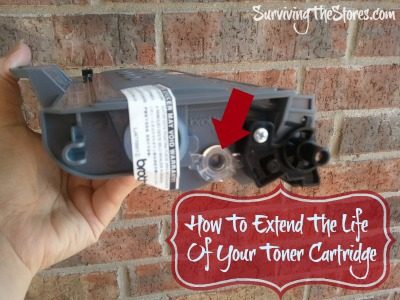
How To Extend The Life Of Your Brother Toner Cartridges (And Possibly Other Brands Too!)
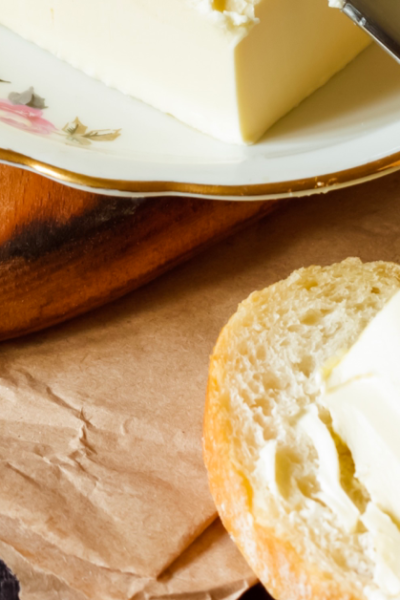
How To Make Homemade Butter & Buttermilk
- 1
- 2
- 3
- …
- 7
- Next Page »