Home
About
Saving Resources
Media/PR
Contact
Surviving The Stores™
Healthy Living, Smart Spending, Essential Oils
Smart Spending
Natural Living Articles
Healthy
Recipes
Essential Oils
Ways to Earn $
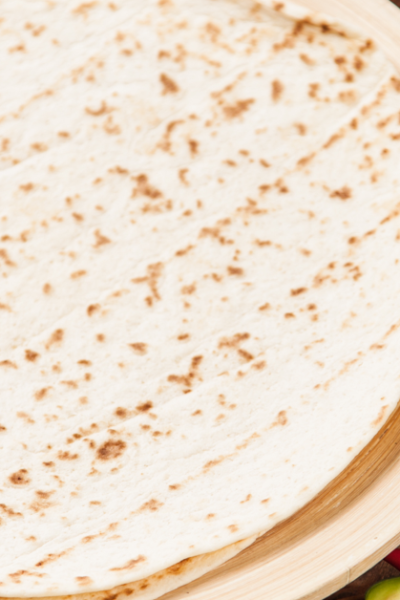
Homemade Flour Tortillas with Coconut Oil Recipe! {NO Shortening!!}
05/06/10